Mastering the Art of the Fade: A Step-by-Step Guide
AB
Understanding the Basics of a Fade
The fade haircut has become a timeless staple in men's grooming, offering a versatile and polished look that suits various styles. Whether you're aiming for a classic or modern aesthetic, mastering the art of the fade can elevate your barbering skills to new heights. Understanding the different types of fades, such as low, mid, and high fades, is essential before you start practicing. Each type offers a different gradient effect and suits different face shapes and hair types.
A fade is essentially a gradual transition from longer hair at the top to shorter hair on the sides and back. The key to a seamless fade lies in the blending technique, ensuring no harsh lines disrupt the smooth transition. With the right tools and techniques, achieving a professional-looking fade at home or in a barbershop is entirely possible.

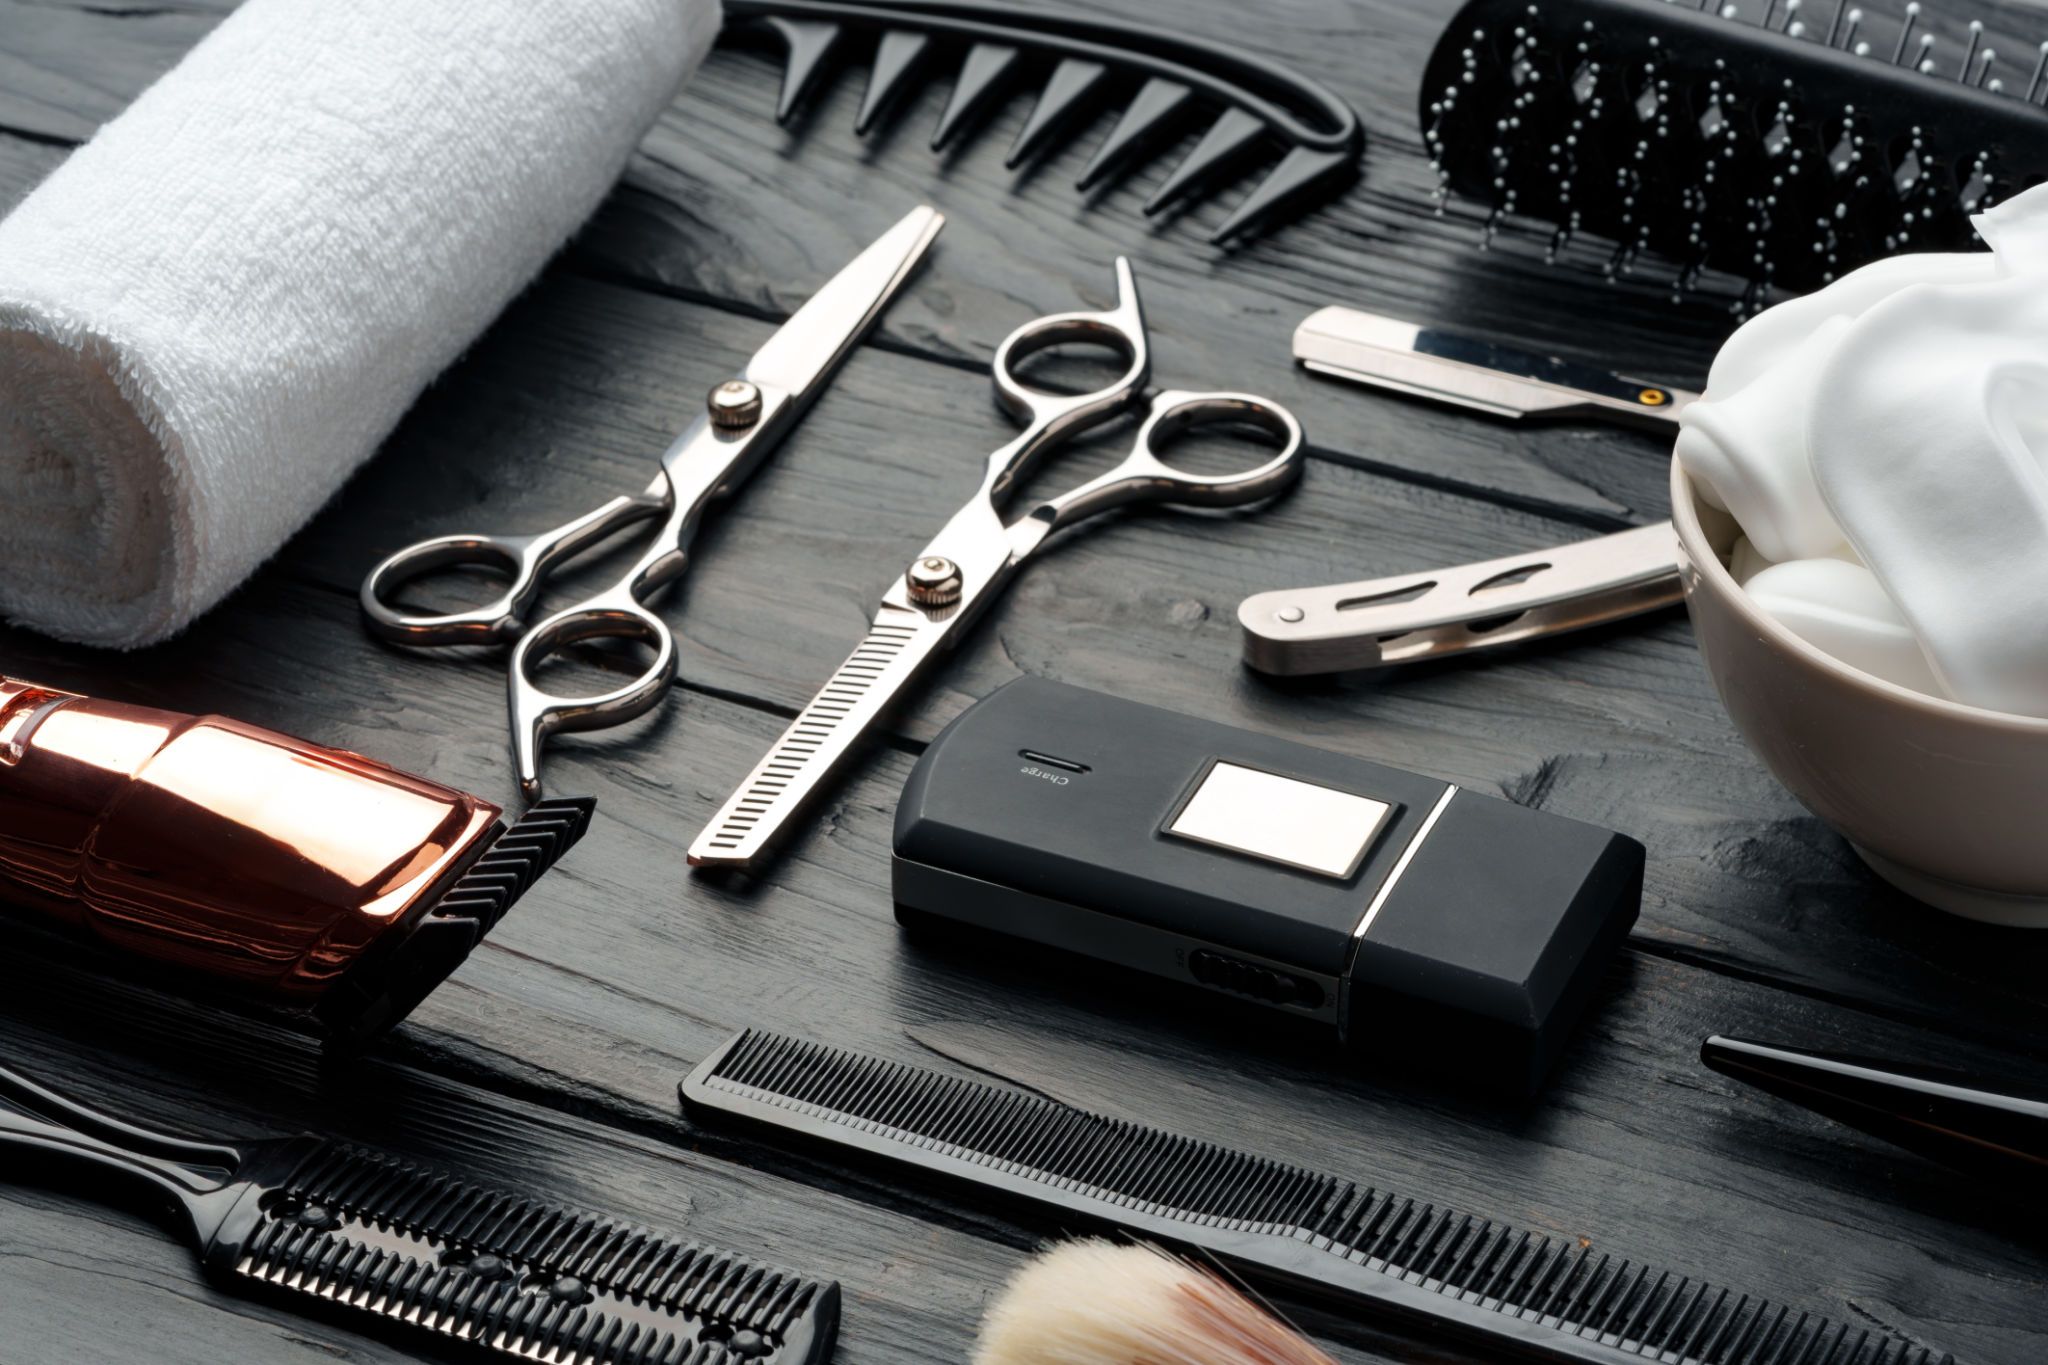
Essential Tools for the Perfect Fade
Before diving into the step-by-step guide, it's crucial to gather the right tools. Having quality clippers is non-negotiable; look for ones with adjustable blades to accommodate different lengths. A set of guards or comb attachments will help you control the length of the cut effectively. Additionally, a pair of sharp scissors, a comb, and a handheld mirror are important for precision work.
Investing in a good quality clipper brush will aid in cleaning the clippers between cuts, ensuring longevity and performance. Lastly, don't forget to have a cape or old towel handy to keep stray hairs off your clothes during the cutting process.
Step-by-Step Guide to Achieving the Perfect Fade
Now that you're familiar with the basics and have your tools ready, it's time to get started with the fade. Follow these steps for a flawless finish:
- Start with clean, dry hair. Wet hair can be misleading in length and texture, so ensure your hair is thoroughly dry before cutting.
- Identify the fade line. Decide where you want the fade to start and end. This will guide your blending process.
- Begin with the longest guard. Attach the longest guard to your clippers and start cutting from the bottom upwards. This will remove bulk and provide a foundation for your fade.
Blending and Fine-Tuning Your Fade
Once you've established the basic structure of your fade, it's time to focus on blending. Switch to a shorter guard and work along the fade line, gradually moving upwards. Use a comb to lift sections of hair as you cut, ensuring an even blend.
If you're aiming for a skin fade, remove the guard completely as you approach the base of your fade. Use short, precise strokes to create a smooth transition from skin to hair. Remember, blending is about patience and precision, so take your time to achieve the desired gradient.
Finishing Touches for a Polished Look
After completing the fade, it's time to pay attention to the finer details. Use scissors to trim any stray hairs along the hairline and around the ears. A clean neckline is crucial for a professional finish; use your clipper without any guard to tidy up this area.
Finally, style the top section of your hair as desired. Whether you're going for a pompadour or keeping it simple with some gel or pomade, ensure that your overall style complements your fade.
Maintaining Your Fade
To keep your fade looking fresh, regular maintenance is key. Depending on how quickly your hair grows, you may need to touch up your fade every two to three weeks. Keeping your clippers well-maintained and sharpened will ensure they perform optimally during each use.
With practice and patience, mastering the art of the fade can be an enjoyable and rewarding experience. Not only will you save on frequent trips to the barber, but you'll also gain valuable skills that can be shared with friends and family.